


Introduction
In this article, I will walk you through how to create a simple sentiment analysis project using python and NLTK.
What is Sentiment Analysis?
Sentiment analysis is the process of deducing the emotion from some media such as text, image or video. It is widely used in various fields. Most of the large political parties use sentiment analysis to check the perception of their candidates among the public to estimate their win probability.
How to do sentiment analysis?
Sentiment analysis has become easy due to libraries like NLTk, using this library a lot of the pretraining and model generation can be bypassed as NLTK comes with many pre-trained models that we can use.
In this example, I will be using a model called VADER(Valence Aware Dictionary for Sentiment Reasoning). It is trained on short texts similar to the ones we see on Twitter and it is extremely powerful in identifying slang but will struggle when used with large text.
let's jump into the code
# sentiment.py
import nltk

text = "This is a very nice day"
nltk.download('vader_lexicon')
from nltk.sentiment.vader import SentimentIntensityAnalyzer
sid = SentimentIntensityAnalyzer()
score = ((sid.polarity_scores(str(text))))['compound']

if(score > 0):
    label = 'This sentence is positive'
elif(score == 0):
    label = 'This sentence is neutral'
else:
    label = 'This sentence is negative'

print(label)
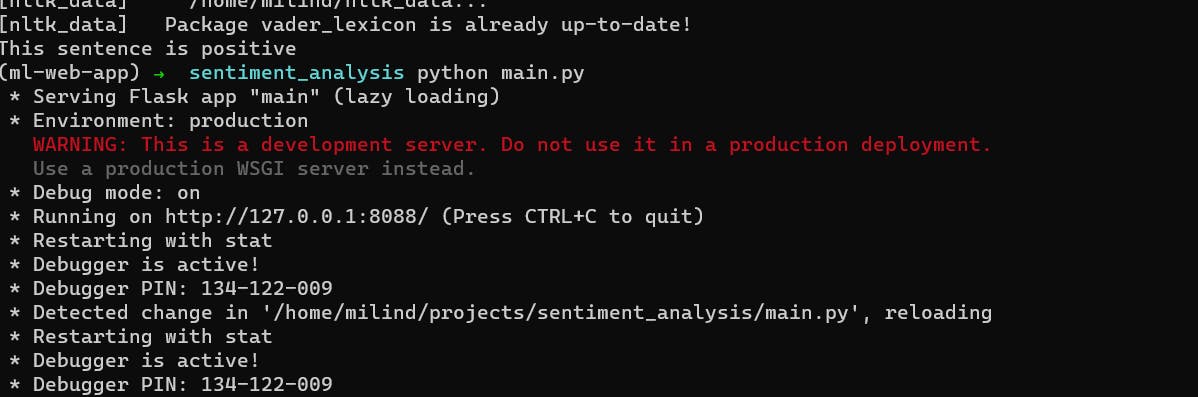
now, you can run the above code by
python sentiment.py
Really simple right? You can play around with it by changing the text.
let's now deploy this using flask.
Deploy sentiment analysis model using flask
Flask is a micro-framework used to build websites really fast with very few lines of code. It is one of the popular and preferred mediums used by Data scientist's to show their finding's to regular people.
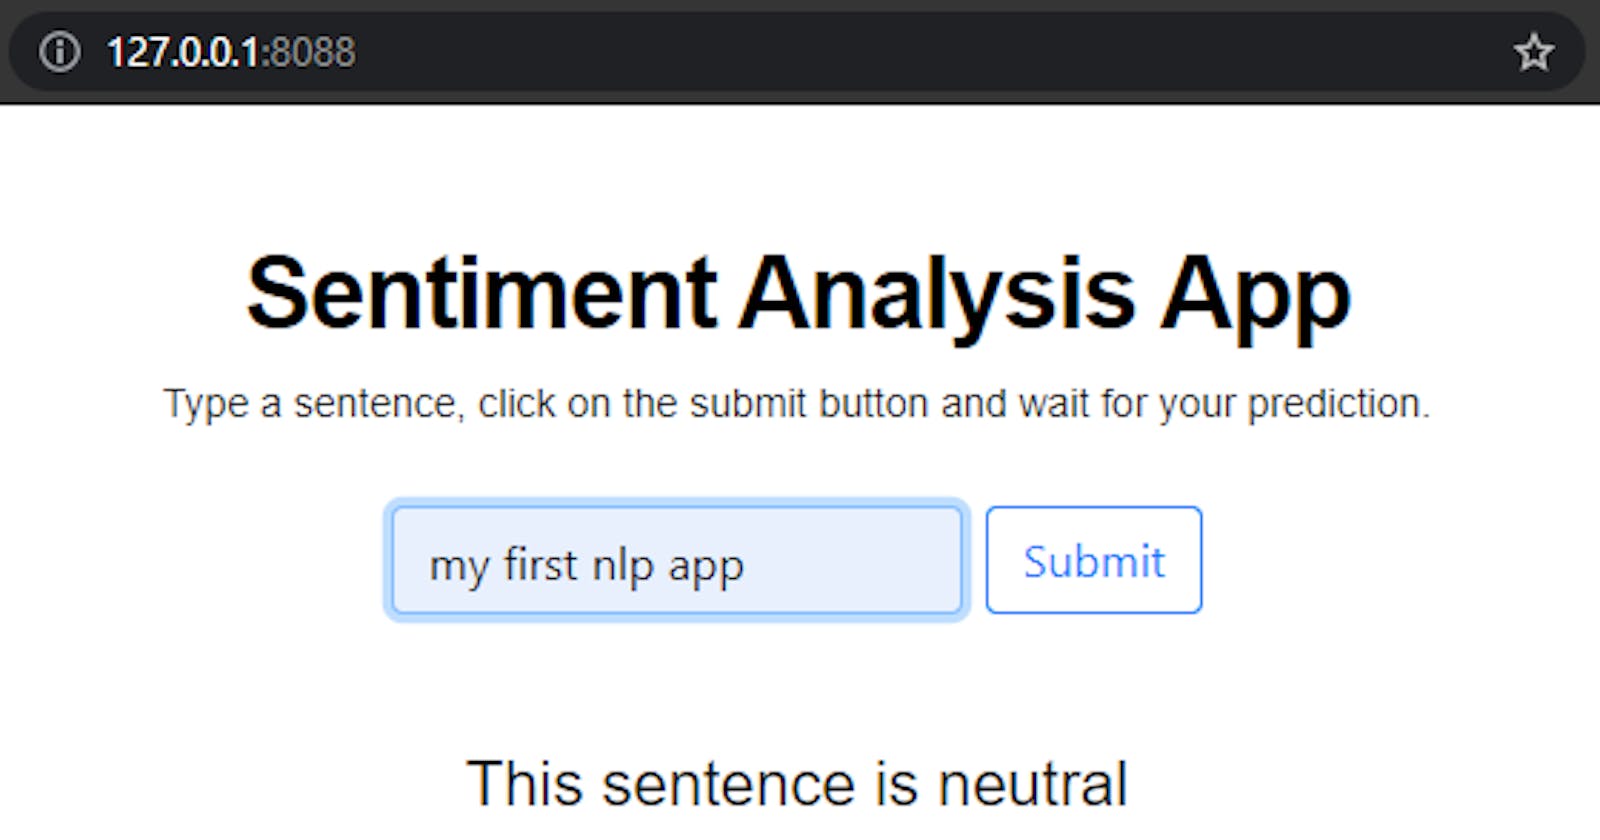
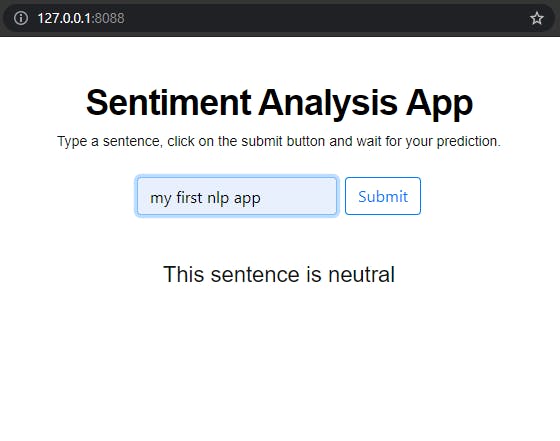
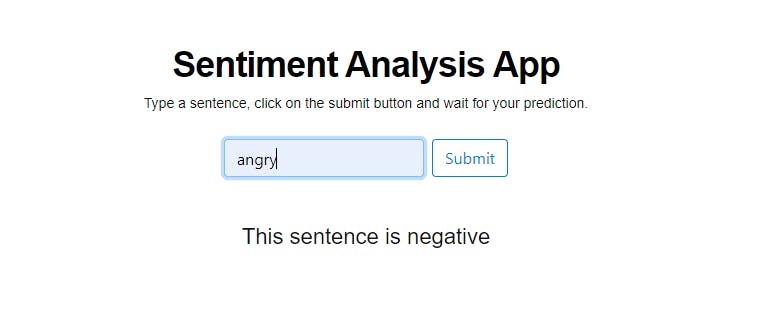
this is how our finished web app will look
STEP - 1
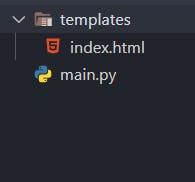
Create a new folder to save the project. The files we need are
main.py- This is where the flask server and the VADER is initialisedtemplates/index.html- We can use custom HTML files along with flask to give the final webpage a nice look.
Step - 2 copy the code to the respective files
# main.py
import nltk
from flask import request
from flask import jsonify
from flask import Flask, render_template

app = Flask(__name__)

@app.route('/')
def my_form():
    return render_template('index.html')

@app.route('/', methods=['POST'])
def my_form_post():
    text = request.form['text']
    nltk.download('vader_lexicon')
    from nltk.sentiment.vader import SentimentIntensityAnalyzer
    sid = SentimentIntensityAnalyzer()
    score = ((sid.polarity_scores(str(text))))['compound']

    if(score > 0):
        label = 'This sentence is positive'
    elif(score == 0):
        label = 'This sentence is neutral'
    else:
        label = 'This sentence is negative'

    return(render_template('index.html', variable=label))

if __name__ == "__main__":
    app.run(port='8088', threaded=False, debug=True)
// index.html
<!DOCTYPE html>
<html>
  <head>
    <link
      rel="stylesheet"
      href="https://stackpath.bootstrapcdn.com/bootstrap/4.3.1/css/bootstrap.min.css"
      integrity="sha384-ggOyR0iXCbMQv3Xipma34MD+dH/1fQ784/j6cY/iJTQUOhcWr7x9JvoRxT2MZw1T"
      crossorigin="anonymous"
    />
    <script
      src="https://stackpath.bootstrapcdn.com/bootstrap/4.3.1/js/bootstrap.min.js"
      integrity="sha384-JjSmVgyd0p3pXB1rRibZUAYoIIy6OrQ6VrjIEaFf/nJGzIxFDsf4x0xIM+B07jRM"
      crossorigin="anonymous"
    ></script>
    <style>
      .centered {
        position: relative;
        text-align: center;
        display: grid;
        place-items: center;
        color: white;
      }

      .header {
        color: black;
      }

      p {
        color: #111;
        font-family: 'Helvetica Neue', sans-serif;
        font-size: 14px;
        line-height: 24px;
        margin: 0 0 24px;
        text-justify: inter-word;
      }

      h1 {
        color: #111;
        font-family: 'Helvetica Neue', sans-serif;
        font-size: 36px;
        font-weight: bold;
        letter-spacing: -1px;
        line-height: 1;
        text-align: center;
      }

      #demo {
        color: #111;
        font-family: 'Helvetica Neue', sans-serif;
        font-size: 22px;
        line-height: 24px;
        margin: 0 0 24px;
        text-justify: inter-word;
      }

      .form-div {
        display: flex;
        justify-content: space-around;
        align-items: center;
      }
    </style>
  </head>
  <body>
    <div class="container mt-5">
      <div class="centered">
        <div class="text-center text-white">
          <title>sentiment analysis app</title>
        </div>
        <h1 class="header">Sentiment Analysis App</h1>

        <p class="desc">
          Type a sentence, click on the submit button and wait for your prediction.
        </p>

        <form method="POST" onSubmit="return validate();" class="form">
          <div class="form-div">
            <input type="text" name="text" class="form-control mr-2" />
            <button type="submit" class="btn btn-outline-primary" onclick="this.form.submit();">
              Submit
            </button>
          </div>
        </form>
        <br />
        <br />

        <p id="demo">{{ variable }}</p>
      </div>
    </div>
  </body>
</html>
STEP - 3
You can now run the server by running the main file.
Visit the URL specified when you run the main file.
voila!! that's it, now as the next step you can host this in platforms such as heroku like any other website.