Convert your website into a PWA in 8 simple steps | Next.js | PWA Series PART-2


Introduction
Hey all, this is part 2 on how to convert your website into a PWA. If you want to know how PWA works check out the part 1, Introduction to PWA.
I highly recommend reading this article once completely before doing a hands-own.
Now that I have talked about the boring part, lets jump into some coding 🐱💻
First things first, you should already have a website which is responsive and work on mobile devices. As a tutorial you can use the below code to bootstrap a next.js website
Step 1: Create a sample website
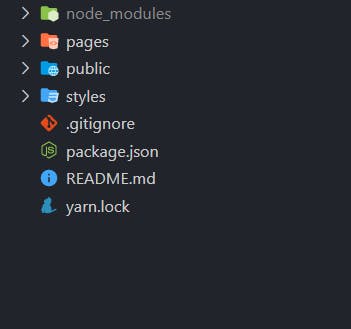
If you don't already have one, you can use the create next app to bootstrap a sample website.
npx create-next-app my-pwa-site
This is how your folder structure look after the first step
Step 2: Install the dependencies
We will be using a package called next-pwa for converting our next.js website into a PWA. Install it from npm by
npm i next-pwa
after install you can run it by the command npm run dev
Step 3: Edit Next.js configuration file
In your root directory check for a file called next.config.js if it is not present create one and **paste the following code. Remember to restart the server after changing next.config.js**
// next.config.js
const path = require("path");
const withPWA = require("next-pwa");
const runtimeCaching = require("next-pwa/cache");

module.exports = withPWA({
pwa: {
    dest: "public",
    runtimeCaching,
},

// This is not required to make it into a PWA, but is a nice way to clean up your imports
webpack: (config) => {
    config.resolve.modules.push(path.resolve("./"));
    return config;
},
});
Step 4: Create necessary assets
You need to create an Icon for your app, you may use this site to get a standardized icon, after generating the icon, place it in the root.
After that use this nifty package called pwa-asset-generator for automatically generating icons needed for PWA and splash screen images, favicons etc.
Run the below command from your terminal, and make sure to give proper icon name. I recommend naming your icon image as icon.
$ npx pwa-asset-generator icon.png icons
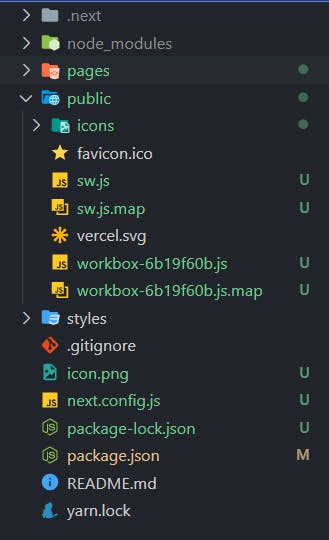
The above command will generate an icons folder with all the necessary images.

Now move the icons folder into public folder
Step 5: Create a manifest.json file
In your public folder create a manifest.json file like below. If you look below you can see an array called icons with image properties. You can get that also by using the pwa-asset-generator. It is automatically generated when running the above code.

You can edit manifest file to change the look and feel of you app.
// public/manifest.json
{
  "name": "pwa-is-cool",
  "short_name": "PWA",
  "theme_color": "#2196f3",
  "background_color": "#2196f3",
  "display": "fullscreen",
  "orientation": "portrait",
  "scope": "/",
  "start_url": "/",
  "icons": [
    {
      "src": "icons/manifest-icon-192.png",
      "sizes": "192x192",
      "type": "image/png",
      "purpose": "maskable any"
    },
    {
      "src": "icons/manifest-icon-512.png",
      "sizes": "512x512",
      "type": "image/png",
      "purpose": "maskable any"
    }
  ],
  "splash_pages": null
}
Step 6: Edit your _document.js file
By default there won't be a file called _document.js, you have to create one in the pages directory.
please check this official documentation if you are in doubt. This file is used to inject meta tags into all the pages.
// pages/_document.js
import Document, { Html, Head, Main, NextScript } from "next/document";

class MyDocument extends Document {
  static async getInitialProps(ctx) {
    const initialProps = await Document.getInitialProps(ctx);
    return { ...initialProps };
  }

  render() {
    return (
      <Html>
        <Head>
          <meta name="viewport" content="width=device-width, initial-scale=1.0" />
          <link rel="manifest" href="/manifest.json" />
          <link href="/favicon-16x16.png" rel="icon" type="image/png" sizes="16x16" />
          <link href="/favicon-32x32.png" rel="icon" type="image/png" sizes="32x32" />
          <link rel="apple-touch-icon" href="/apple-icon.png"></link>
          <meta name="theme-color" content="#317EFB" />
        </Head>
        <body>
          <Main />
          <NextScript />
        </body>
      </Html>
    );
  }
}

export default MyDocument;
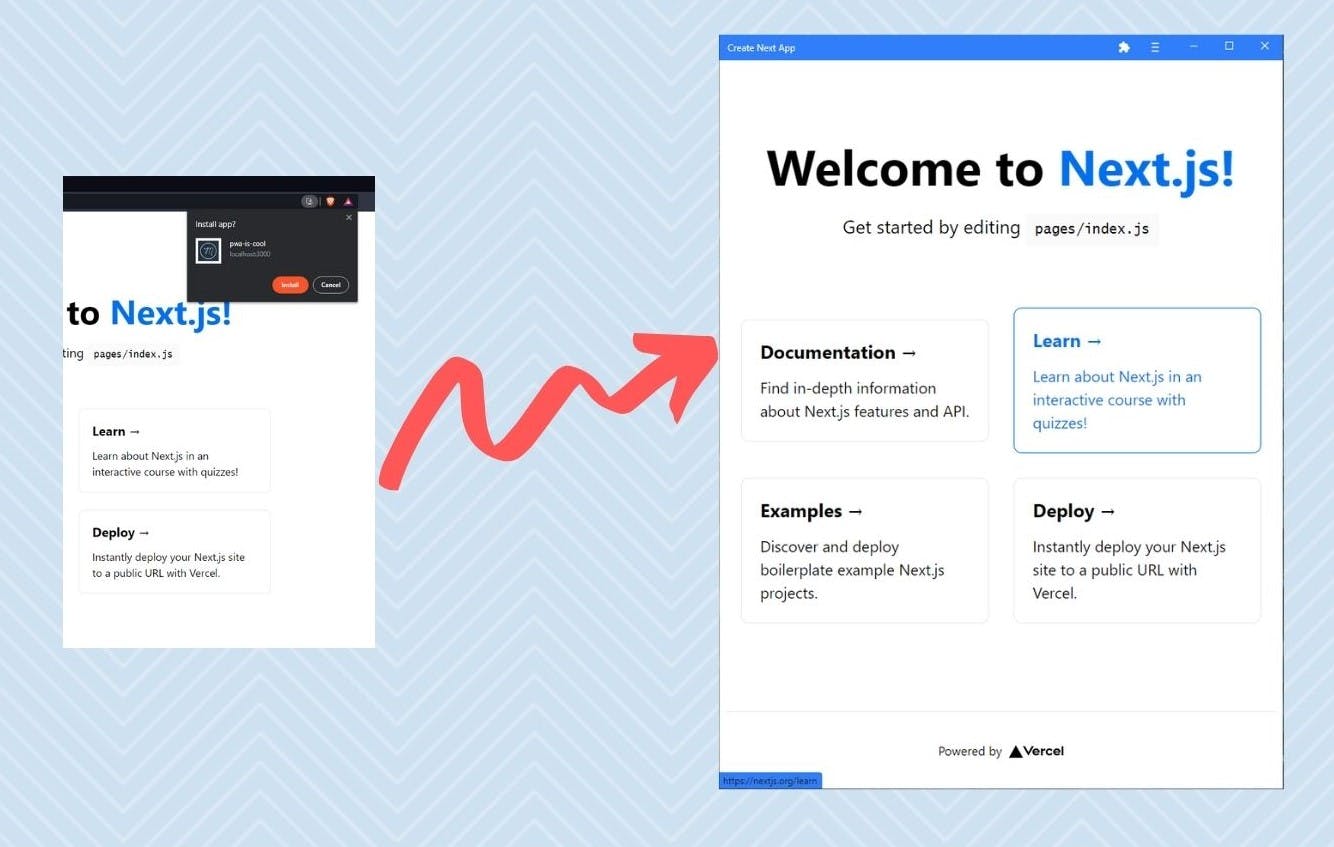
6. Test your PWA!
Now, your app is PWA ready. We just need to test this. When we use next-pwa , the service workers are enabled only on production. So, we can build our app with npm run build or yarn build. Then start it by npm start or yarn start.
// build the project by
npm run build

// Start the build by
npm start
Now go to your localhost:3000 and You will see something like this. Install the website and you can use it like any native app. If you want to know how a PWA will look in a mobile device checkout my website milindsoorya.com from your mobile browser and try installing it.
That's it, your first PWA is up and running.🎉🎉🎉
What next
- You can disable the service workers in development by this simple trick.
- As an exercise I recommend converting the, not so mobile friendly create-next-app into an app.
- You can add offline fallback to make the app look good even when offline, by following these steps